If you need to print this PDF or save for later
click below to download your copy.
[button size=”medium” style=”secondary” text=”Download PDF” link=”https://vetovationnew.instawp.xyz/wp-content/uploads/2020/09/Plasma-In-Service-Preparation_1-.pdf” target=”none”]
1. My Sterlink Sterilizer Arrived! Now What?
- A short installation video will need to be viewed prior to installing your system. It describes how
to set up the system as well as gives instructions on how to perform 2 tests that will need to be
complete prior to use. You may access the video at this link. - Once your gas plasma sterilizer has arrived and been unboxed, you will need to set up a remote in-service
with VetOvation. Please text/call (919-215-9799) or email (cary@vetovation.com) to set up a
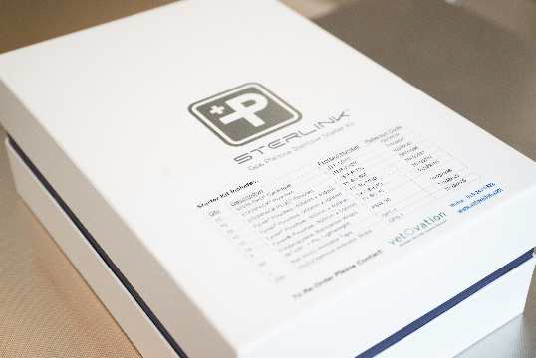
time. It should last 20-30 minutes and VetOvation is on Eastern Time for planning purposes. - Unpack all items from your Starter Kit and find the black power cord. Plug it into the back of the
machine and get it set up on a counter or table. The system does not need to be vented and can be
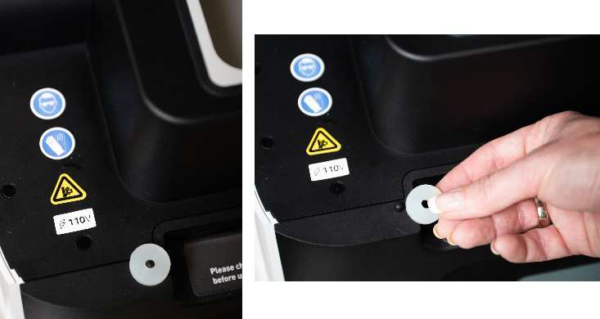
used in any location as long as there is room to raise the lid. - Make sure that the rubber disks have been removed. It is placed on the machine under the lid for
shipping purposes. See the images below…
2. System Warm-up and In-service Preparation
- Turn on the main power switch which is located on the rear side of the sterilizer.
- Close the door during the preheating process to allow the system to warm up which can take up to
40 minutes. - After the preheating process, the “Sterilize” icon will appear on the display instead of the
“Preheating” icon. - Please make sure that the system is fully pre-heated and in the Sterilize mode by the time of our
in-service call.

3. Sterilization Cycle Materials
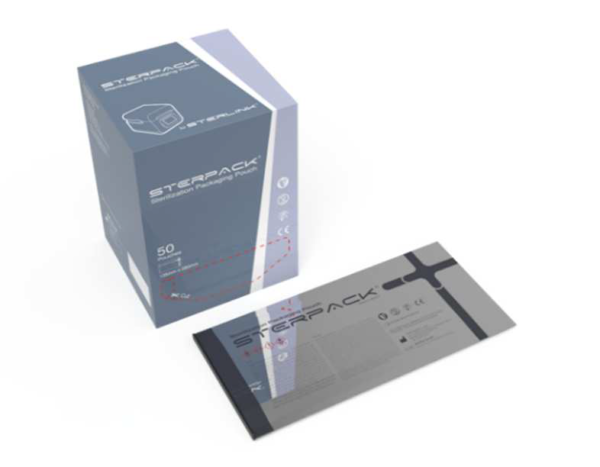
- We will run a short 7-minute plasma sterilization cycle during the call. You will need to have a small instrument or two cleaned and ready to process. We will use the smaller Sterpack, one of the chemical indicator strips and the heat sealer. These items should all be in your Starter Kit. Plug in the heat sealer and set the dial to 4. See the images below… If you are unfamiliar with a heat sealer, there is an instruction video here.


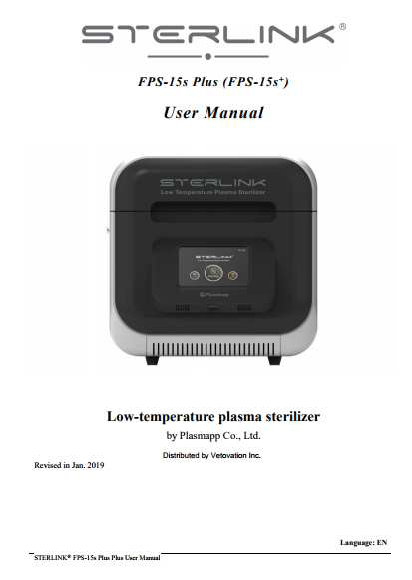
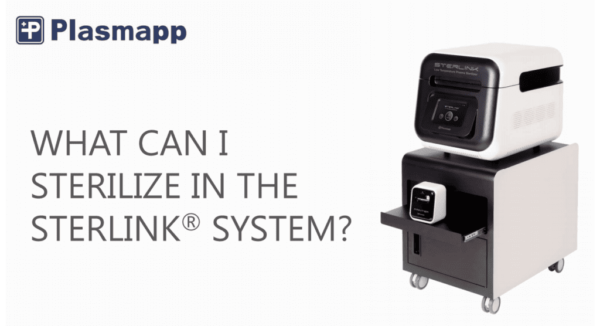
- The other items that you will need to have available for the in-service are the Sterlink Quick Start Guide and the User Manual which includes What Can I Sterilize in the Sterlink System. Hard copies were also sent with the system.
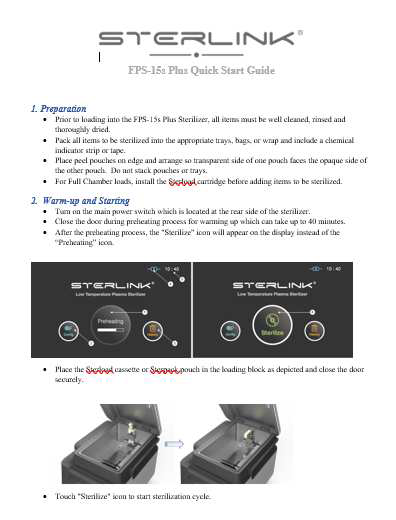
- When you have all the supplies ready and the gas plasma sterilizer pre-heated, please call Cary Zeipekkis at 919-215-9799 at the appointed time to begin the in-service. Again, please allow between 20-30 minutes total for the call. If you do not have some of the items pictured above, or if you have any questions prior to in-service please let us know. Prior to your call time, there is also a short Training video on the VetOvation website that you will need to watch as well. It will give you a brief overview of how the technology works and the basics of running a sterilization cycle. You may access the video at this link.
Thank you for purchasing the Sterlink System